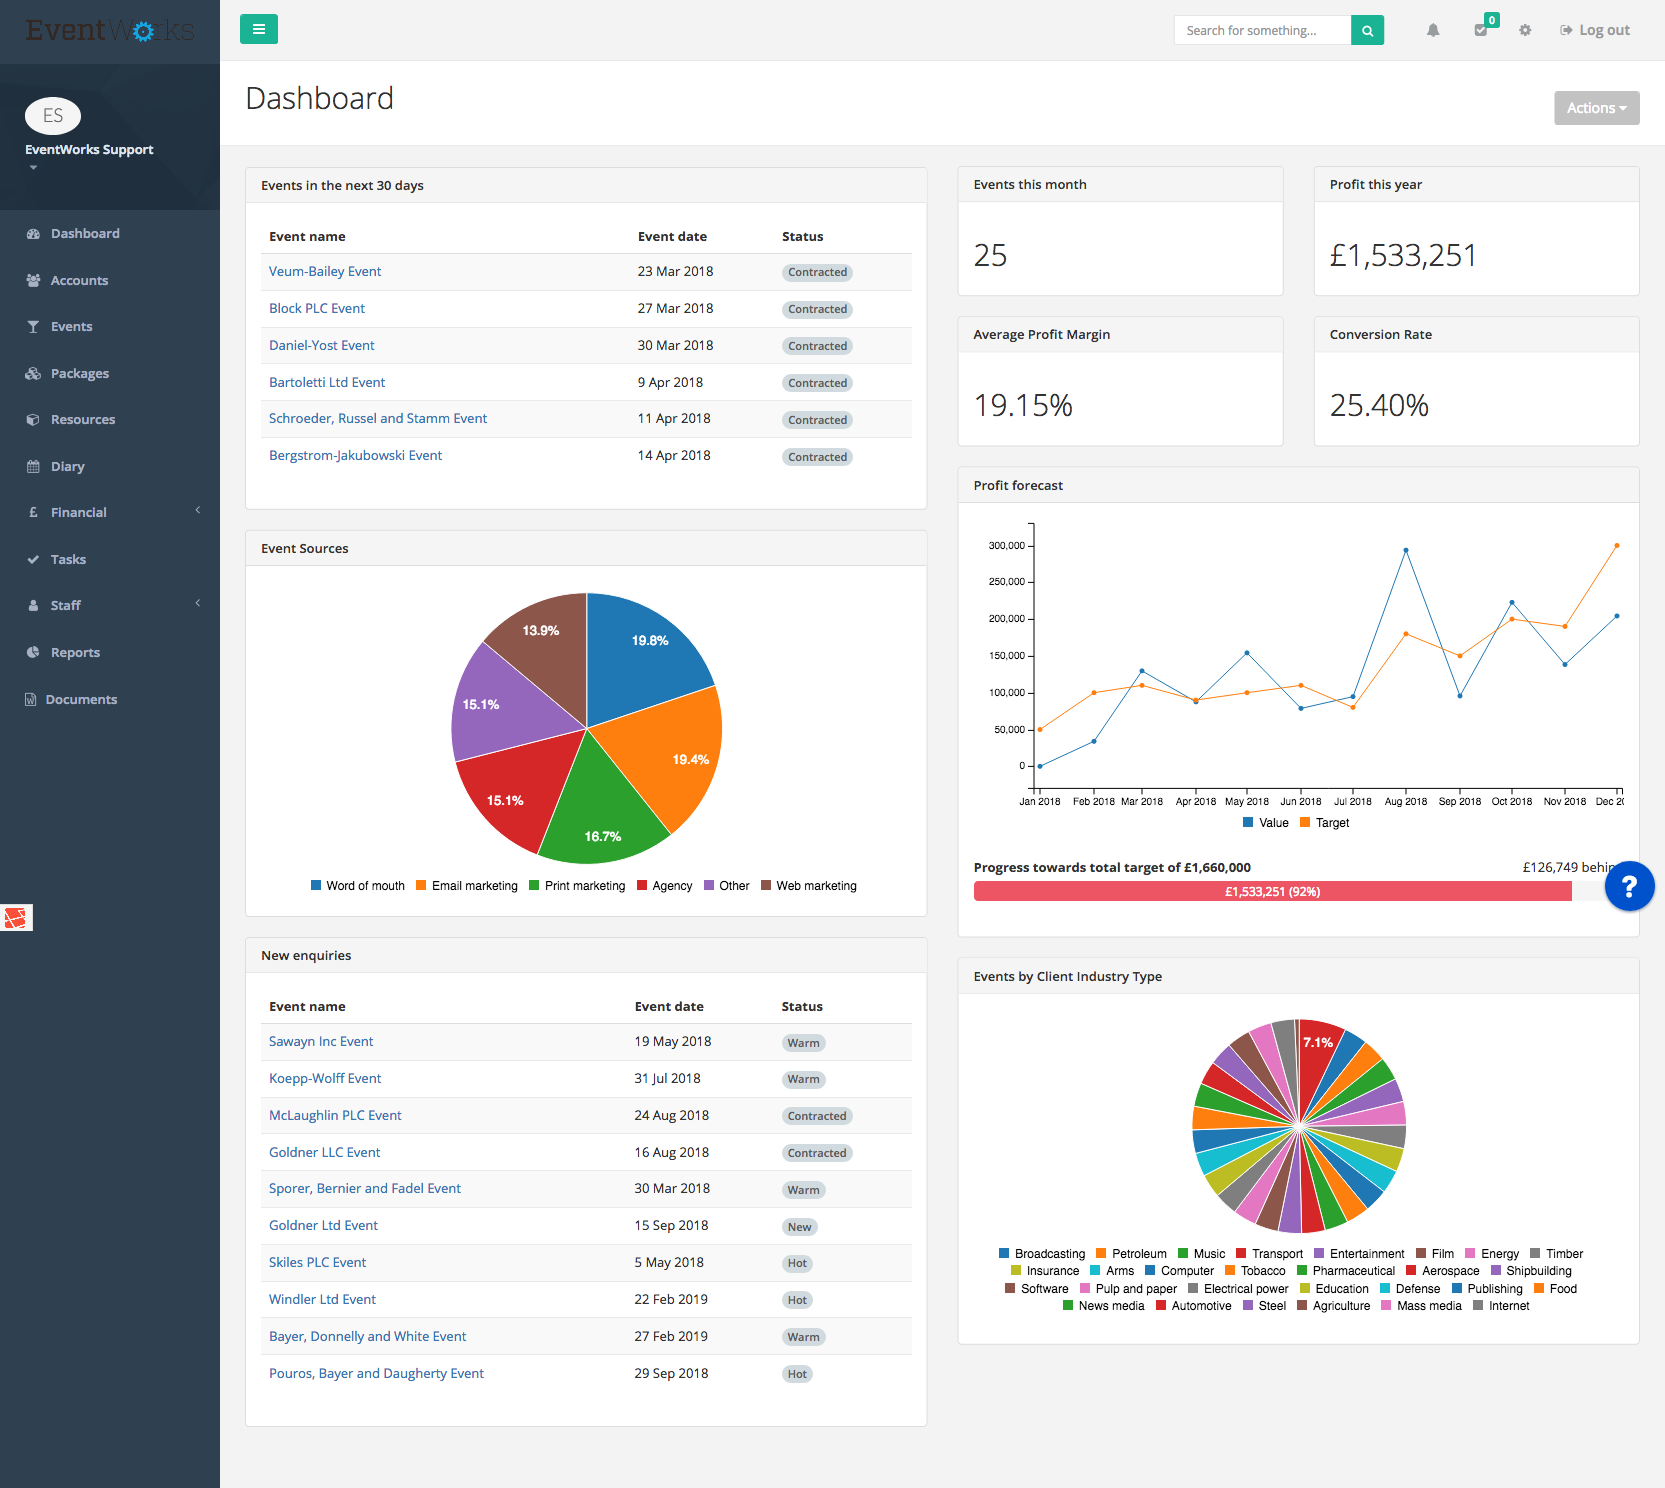
This week’s update brings one of our most requested features – customisable dashboards.
Each user can now create their own bespoke dashboard, giving them the most important information in a single view. You can also create multiple dashboards per user, share your dashbaords with other users, and set a default dashboard for all users.
Each widget can be customised to show data from a particular date range (both fixed and dynamic e.g. “Next 7 days” or “Last 12 months”), specific event statuses, or just limit results to your own events.
How to create your first dashboard
- Click Dashboard on the left-hand menu.
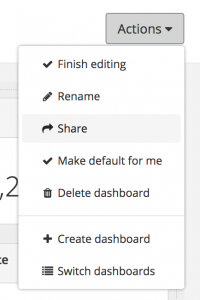
- Click the Actions button and then Create dashboard.
- This will now give you an empty dashboard. Each grey square represents an area to which you can add a widget.
- Click the “+” button inside a dashboard area and then select the widget type you wish to add from the list.
- Your widget has been added! Click on the pencil icon on the widget to change the configuration – each widget has different configuration options but all have a name and date range fields.
Share your dashboard with other users
- Click the Actions button while viewing your dashboard
- Click Share.
- Your dashboard will now be available for other users to select when switching dashboards.
View another dashboard
You can create as many dashboards as you like, and switching between them is simple.
- Click the Actions button while viewing any dashboard
- Click Switch dashboards.
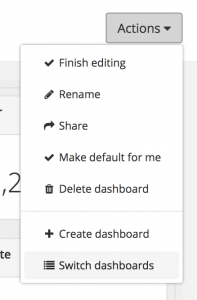
- Click the View button on the dashboard you wish to view
- If you’d like to make this dashboard your default dashboard, click on the Actions button and then Make default for me.
We always love to hear your feedback and feature requests. Send them to us at [email protected].
